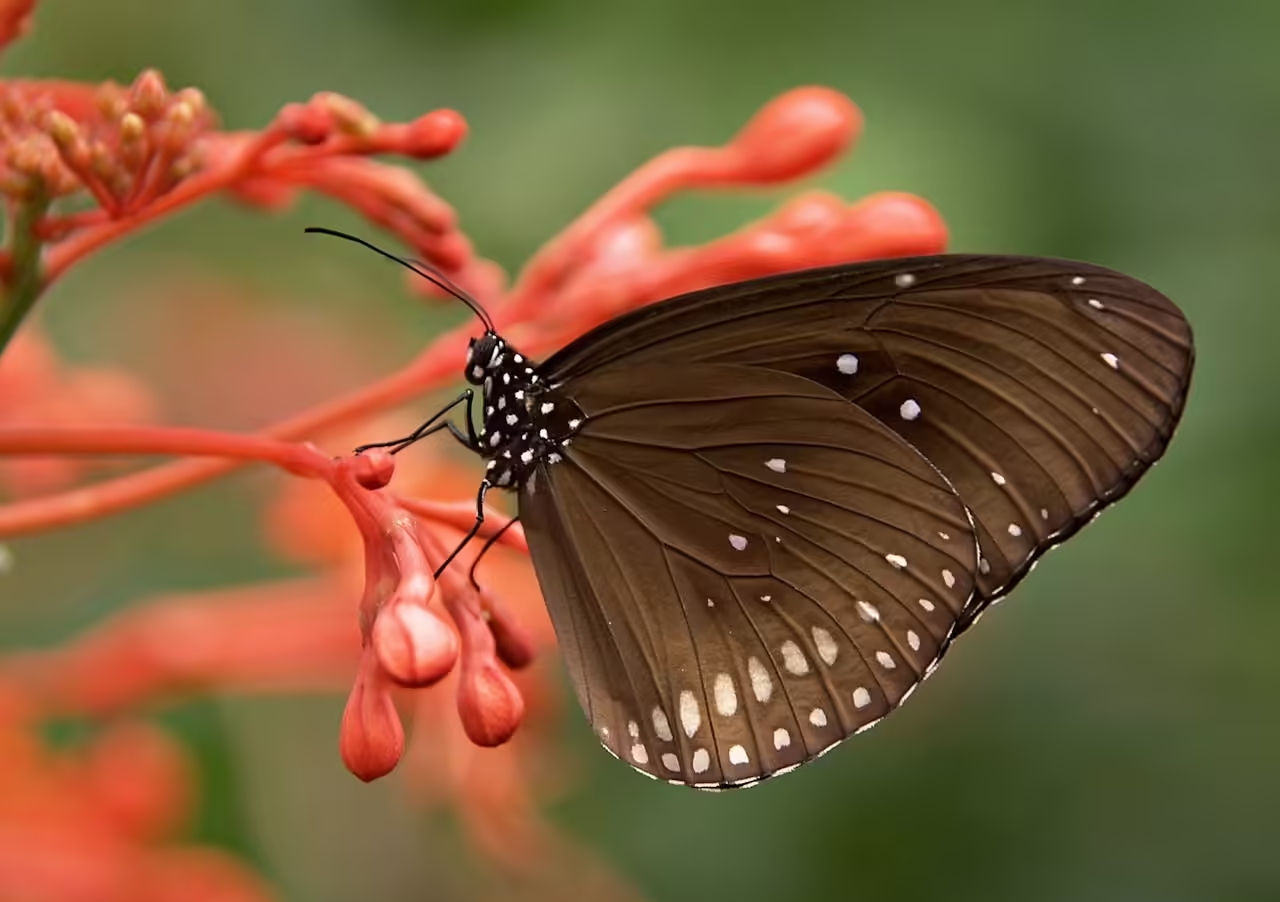
Macro photography opens up a world of tiny wonders, revealing intricate details that are often overlooked by the naked eye. From the delicate patterns on a butterfly’s wings to the mesmerizing structures of flowers, macro photography allows you to explore and capture the beauty of the miniature world. In this blog post, we’ll delve into essential tips and techniques to help you master macro photography and elevate your close-up shots.


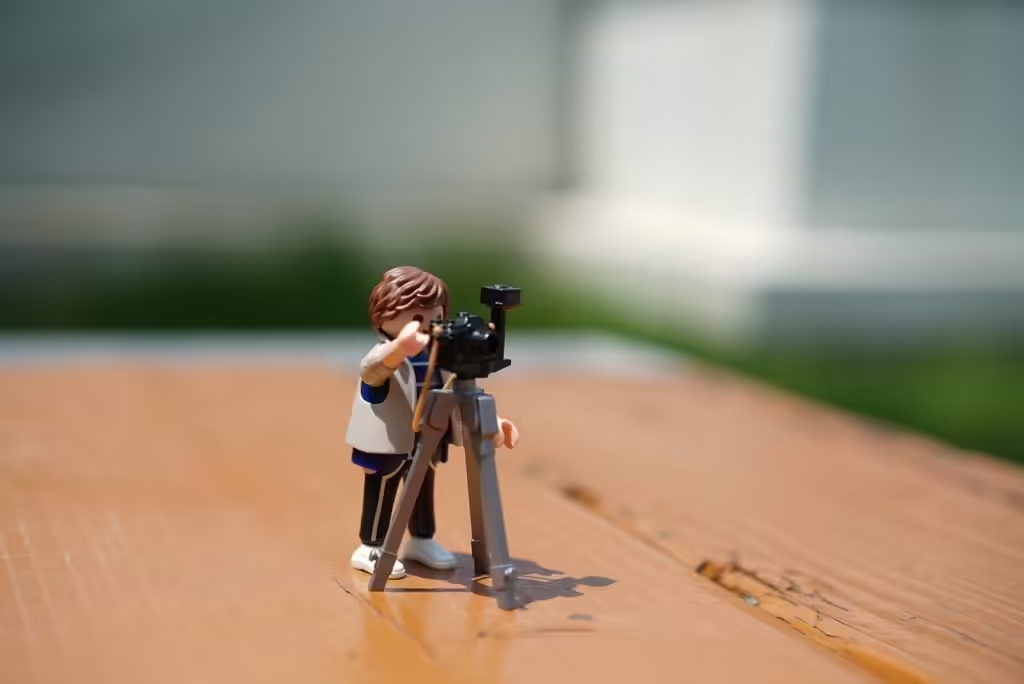
2. Master Your Camera Settings
Aperture
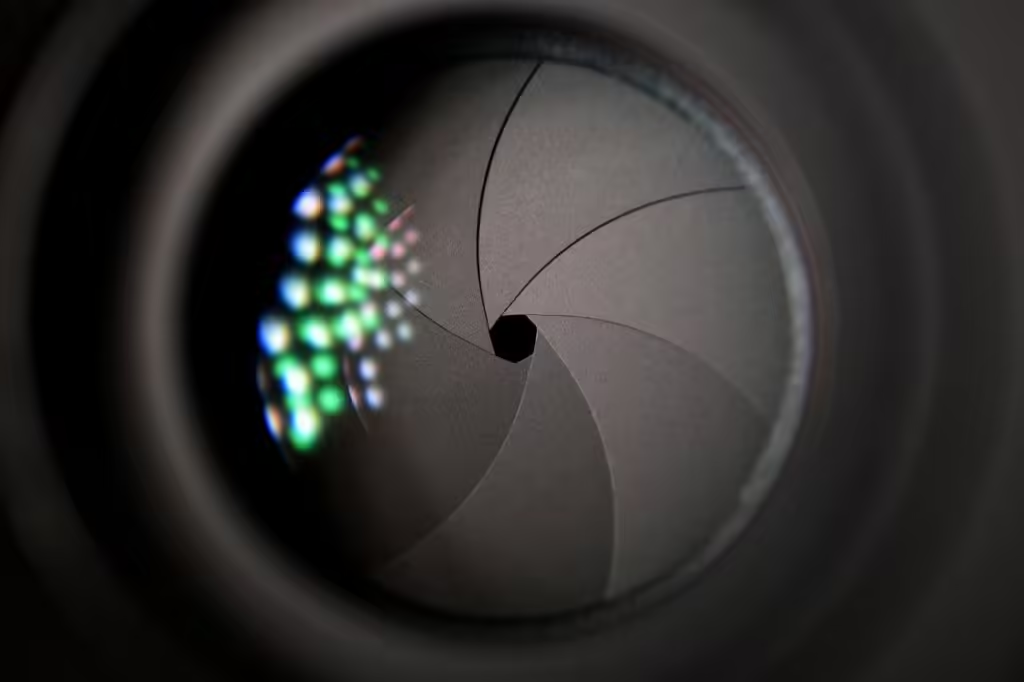
Use a smaller aperture (higher f-stop number) to achieve a greater depth of field, ensuring more of your subject is in focus. However, be cautious of diffraction, which can reduce sharpness at very small apertures. Experiment with f/8 to f/16 for a balance between depth of field and sharpness.
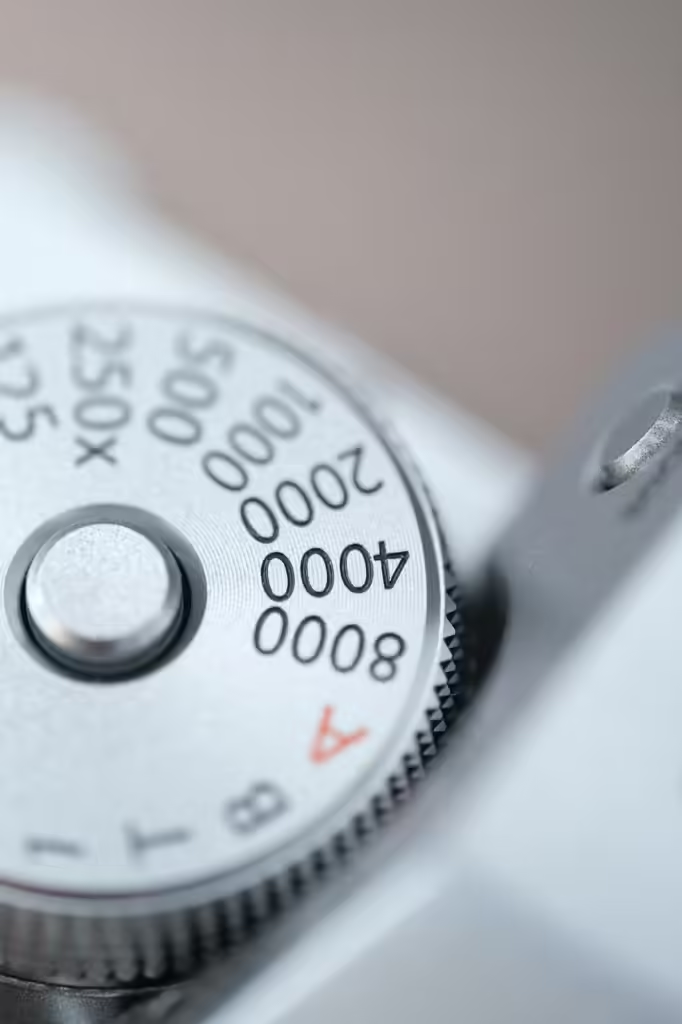
Given the close focusing distances in macro photography, even the slightest movement can result in blur. Use a fast shutter speed to freeze motion, especially if you’re shooting handheld. When using a tripod, slower shutter speeds are acceptable, but consider using a remote shutter release or the camera’s timer to avoid shake.
ISO
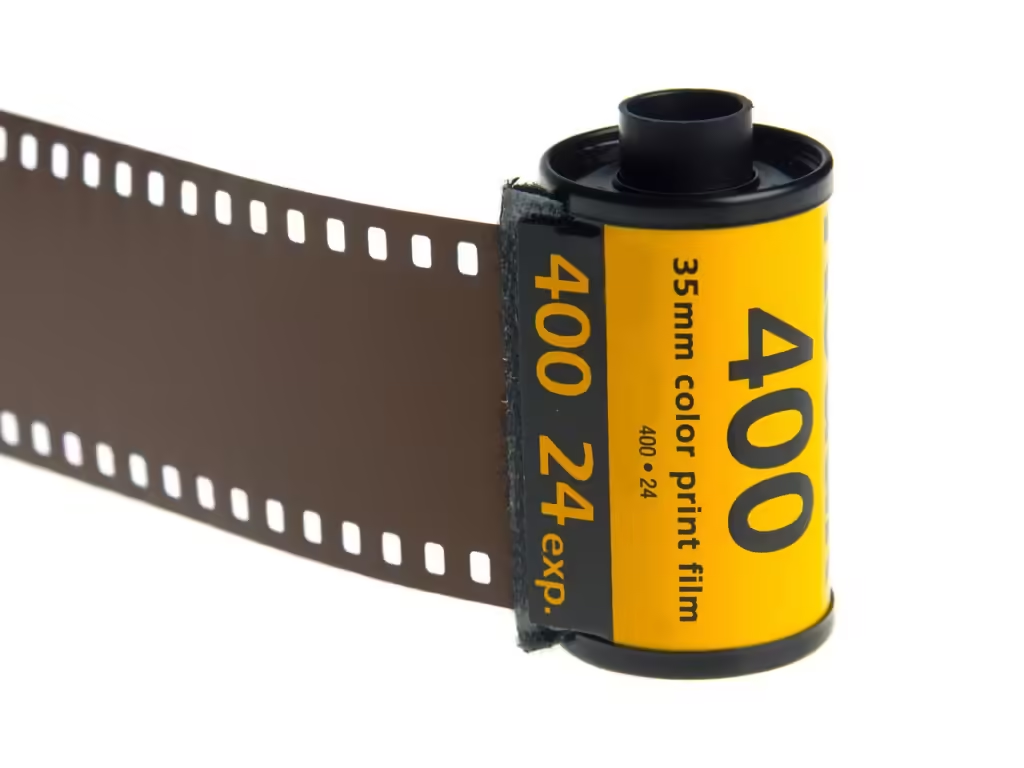
Keep your ISO as low as possible to minimize noise and maintain image quality. Use natural light or external lighting sources to ensure proper exposure without needing to increase ISO significantly.
3. Lighting Techniques
Natural Light
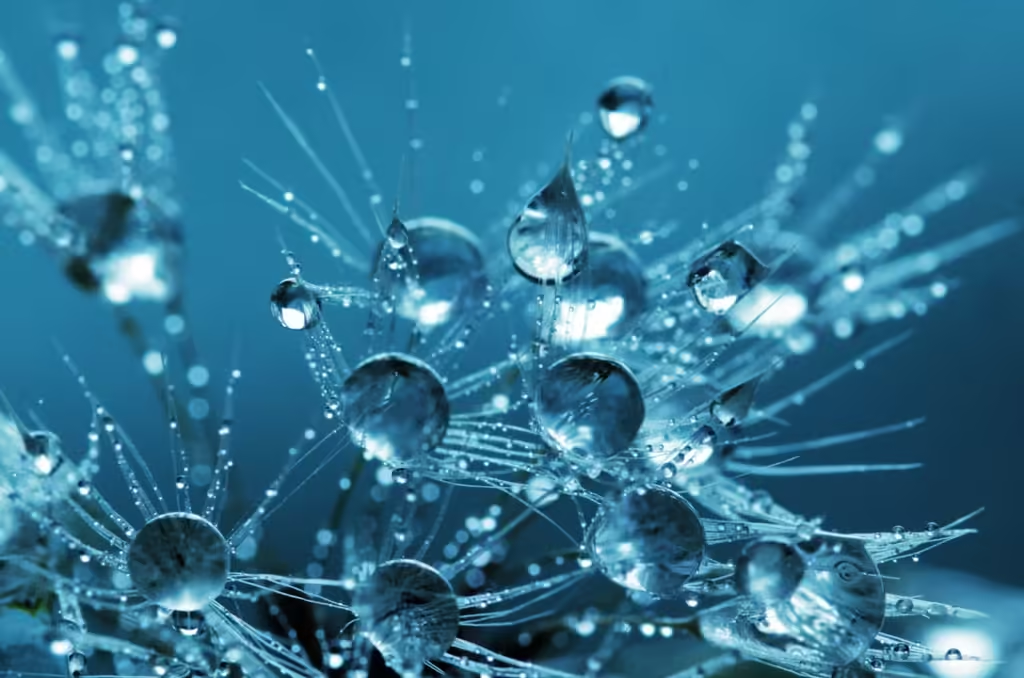
Natural light can be soft and flattering for macro subjects. Shoot during the golden hours—early morning or late afternoon—when the light is diffused and warm. Use a reflector to bounce light and fill in shadows if needed.
External Lighting

Consider using external light sources like ring lights, LED panels, or off-camera flash units. These can provide consistent and controllable lighting, allowing you to highlight specific details and textures in your subject.
Diffusers
Harsh sunlight can create unwanted shadows and highlights. Use a diffuser to soften the light, creating a more even and pleasing illumination on your subject.
4. Composition and Focus
Focus Stacking
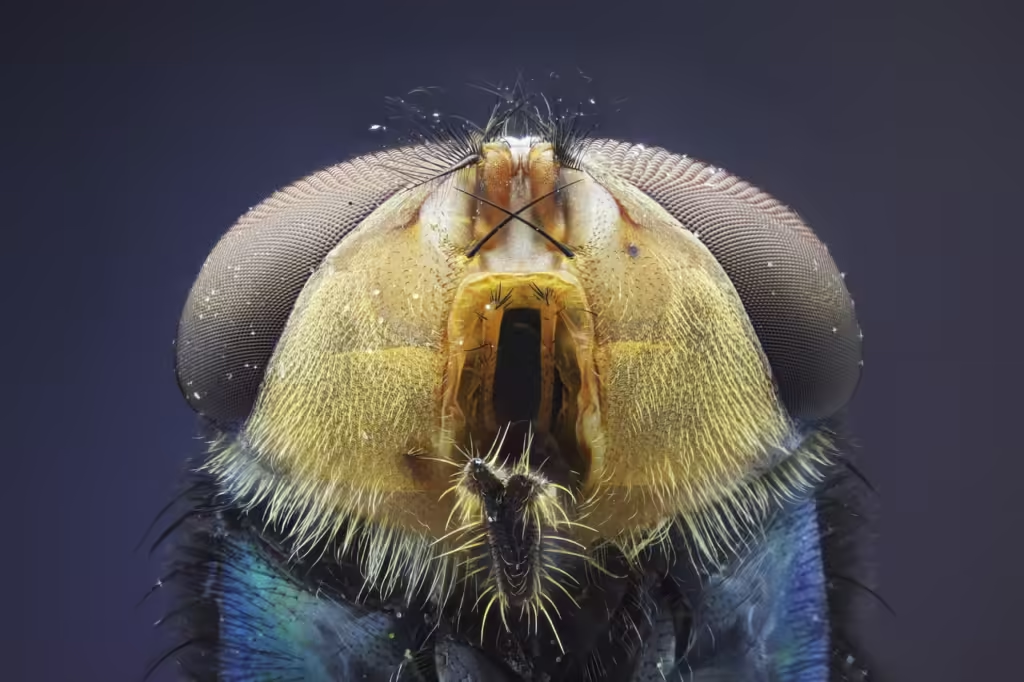
Macro photography often results in a shallow depth of field, making it challenging to keep the entire subject in focus. Focus stacking involves taking multiple shots at different focus points and blending them in post-processing to create a sharp image throughout.
Composition
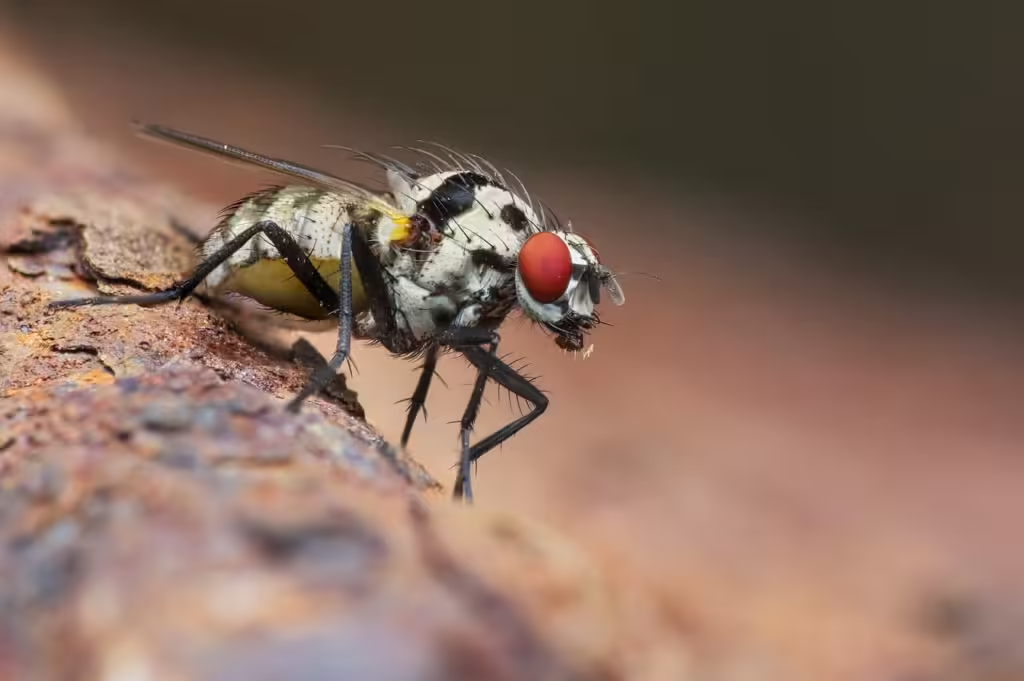
Pay attention to composition principles such as the rule of thirds, leading lines, and framing. Simplify your background to avoid distractions and emphasize your subject. Experiment with different angles and perspectives to find the most engaging composition.
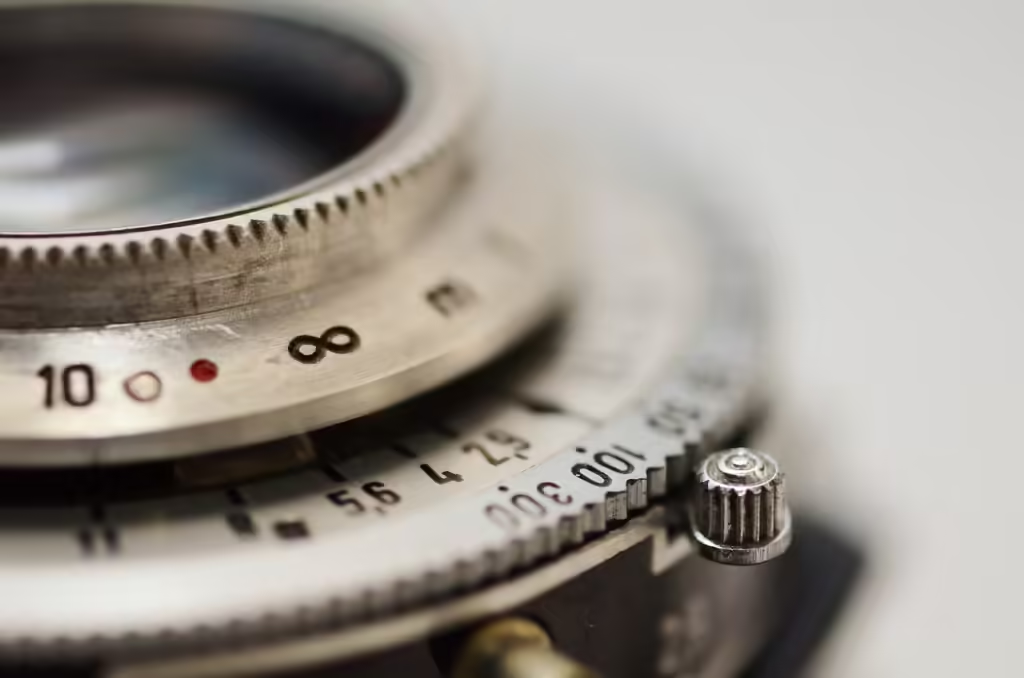
Autofocus can struggle with the precise focusing required in macro photography. Switch to manual focus and use your camera’s live view feature to zoom in and achieve accurate focus on the most critical parts of your subject.
5. Patience and Practice
Macro photography requires patience and practice. Spend time observing your subjects, experimenting with different settings, and refining your techniques. The more you practice, the more you’ll develop an eye for the intricate details and compositions that make macro photography so captivating.
Conclusion
Mastering macro photography is a rewarding journey that allows you to explore and capture the hidden beauty of the miniature world. By choosing the right equipment, mastering your camera settings, utilizing effective lighting techniques, and practicing patience, you’ll be well on your way to creating stunning macro images. So grab your camera, venture into the world of tiny wonders, and let your creativity shine!


